wy-plugin-end
BBS: http://forum.mhetlive.com/
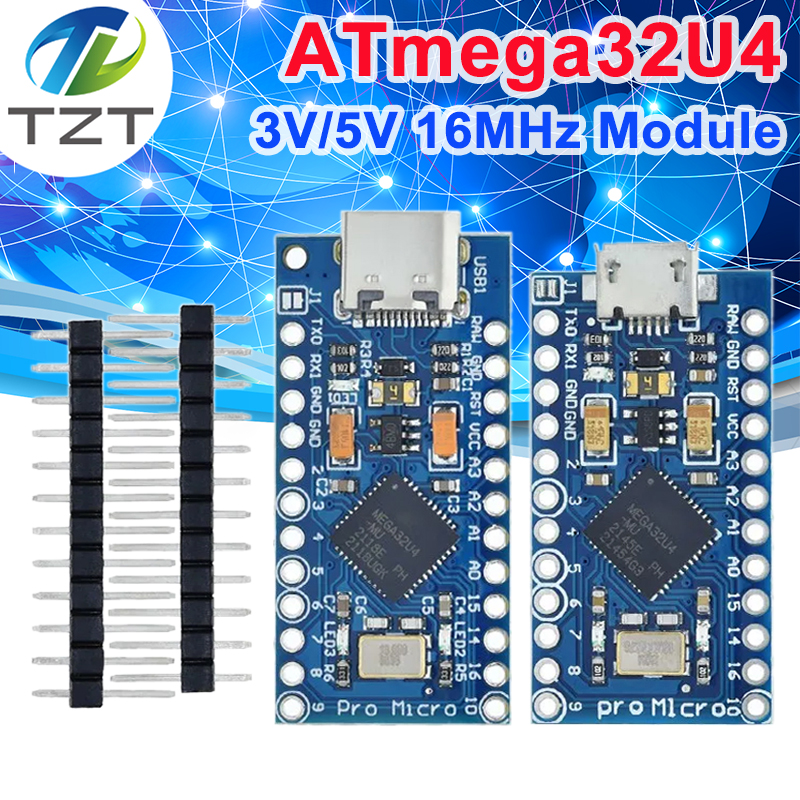
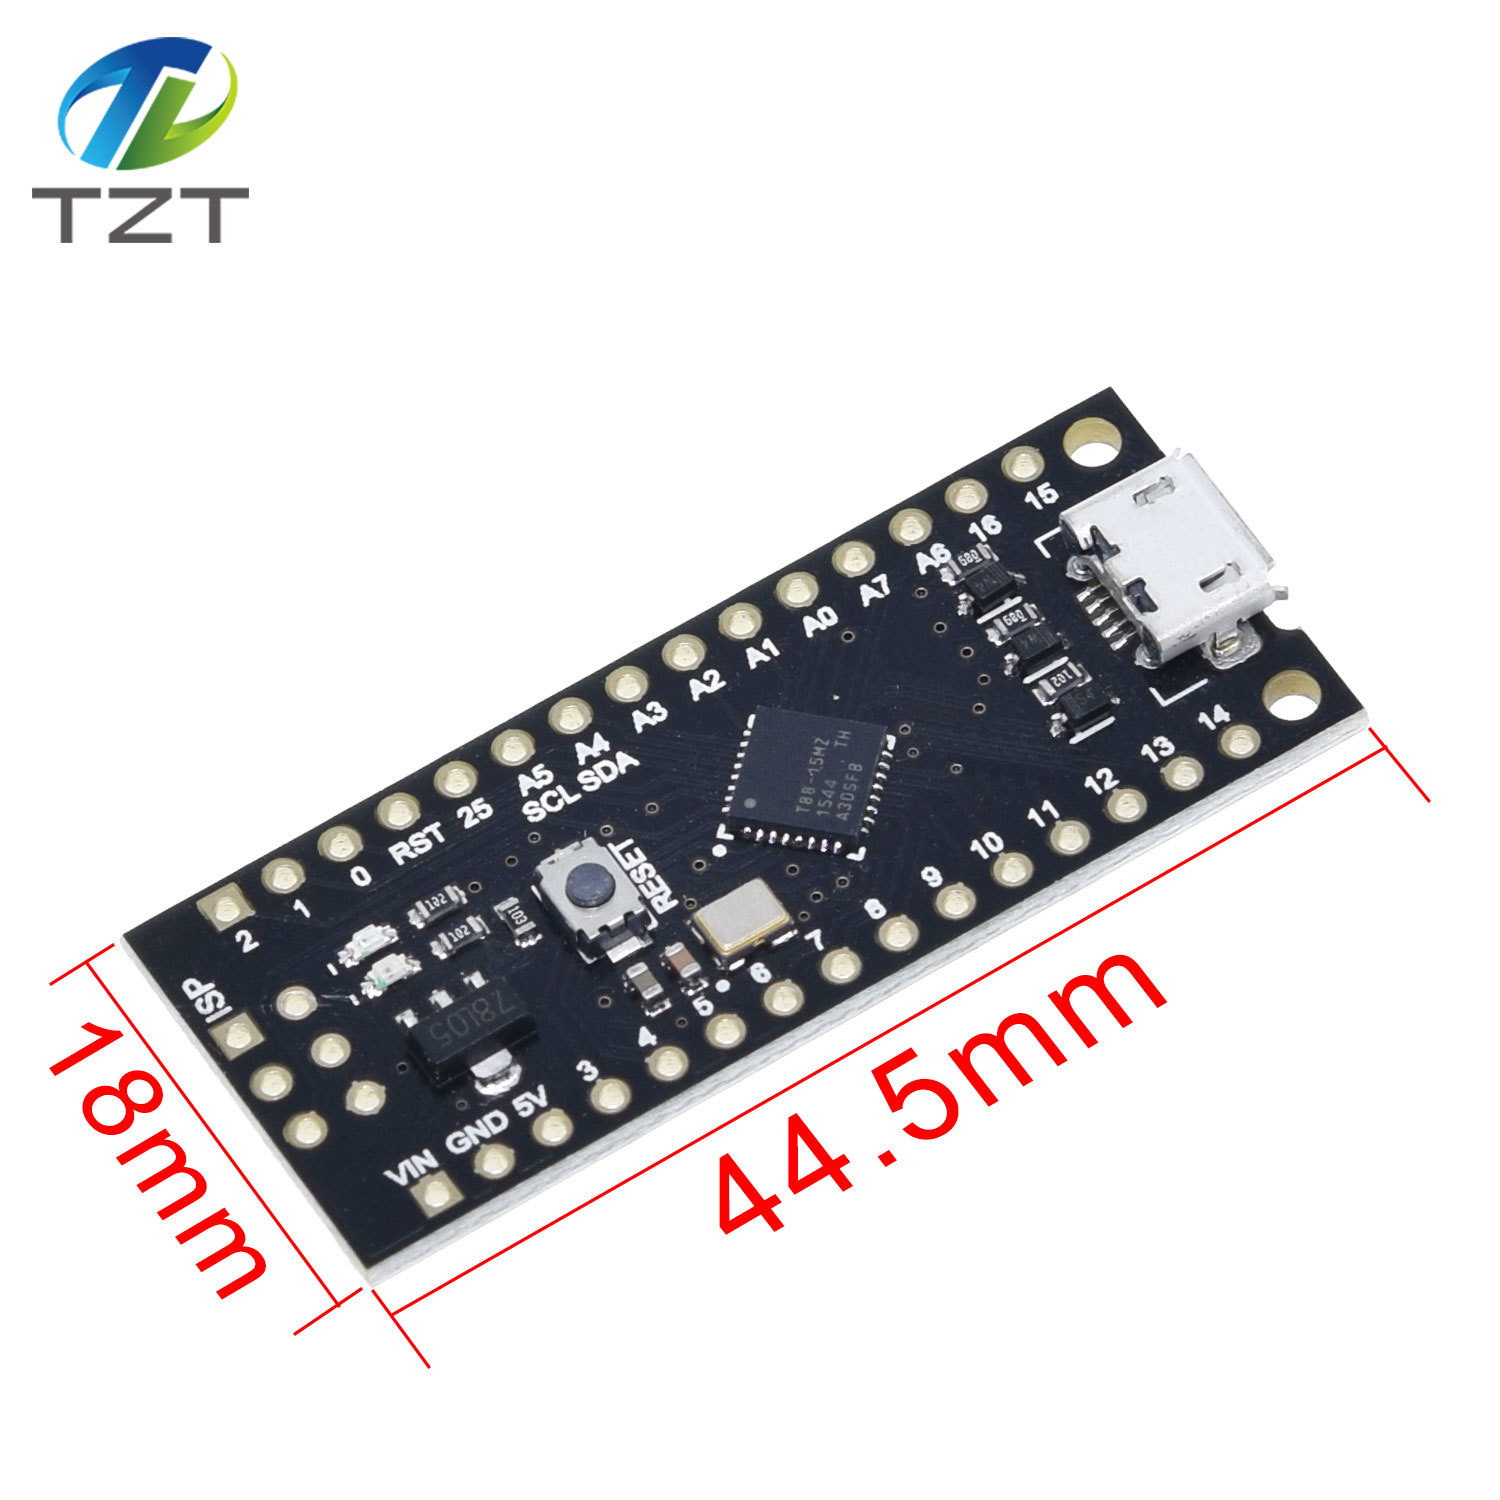
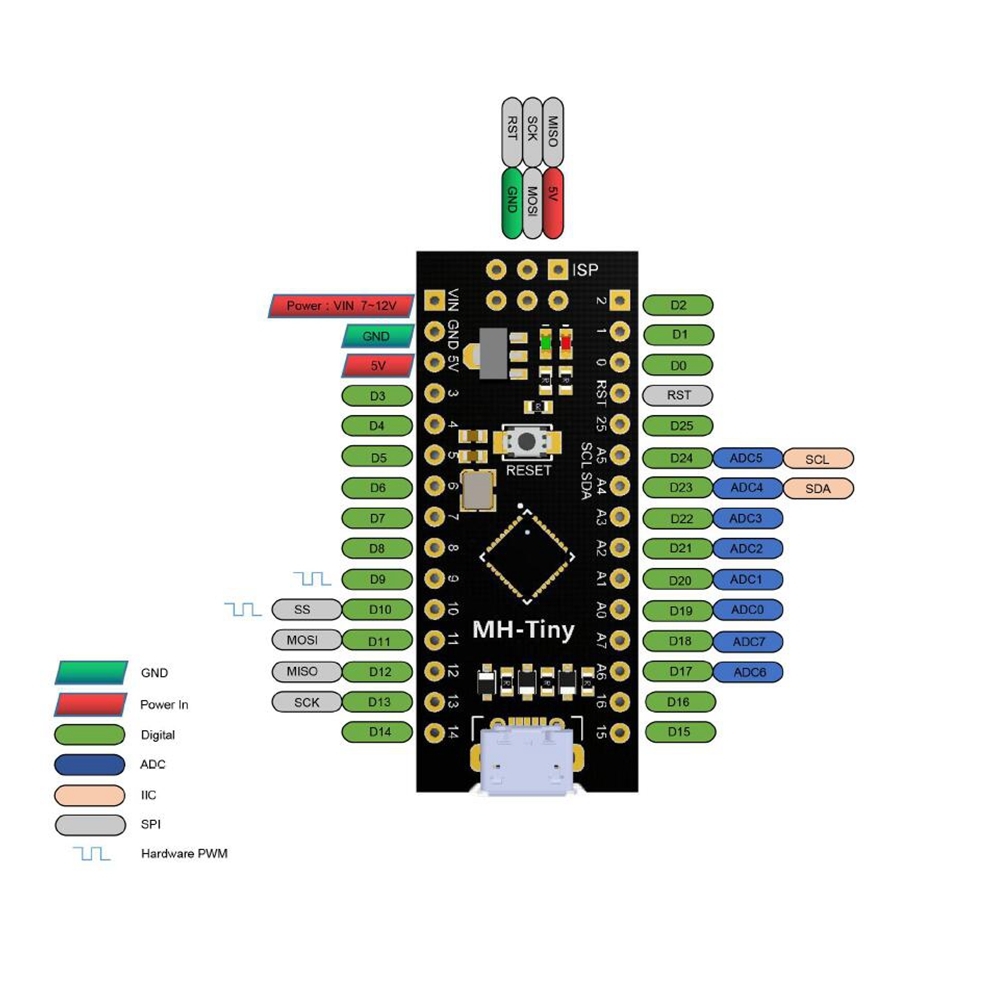
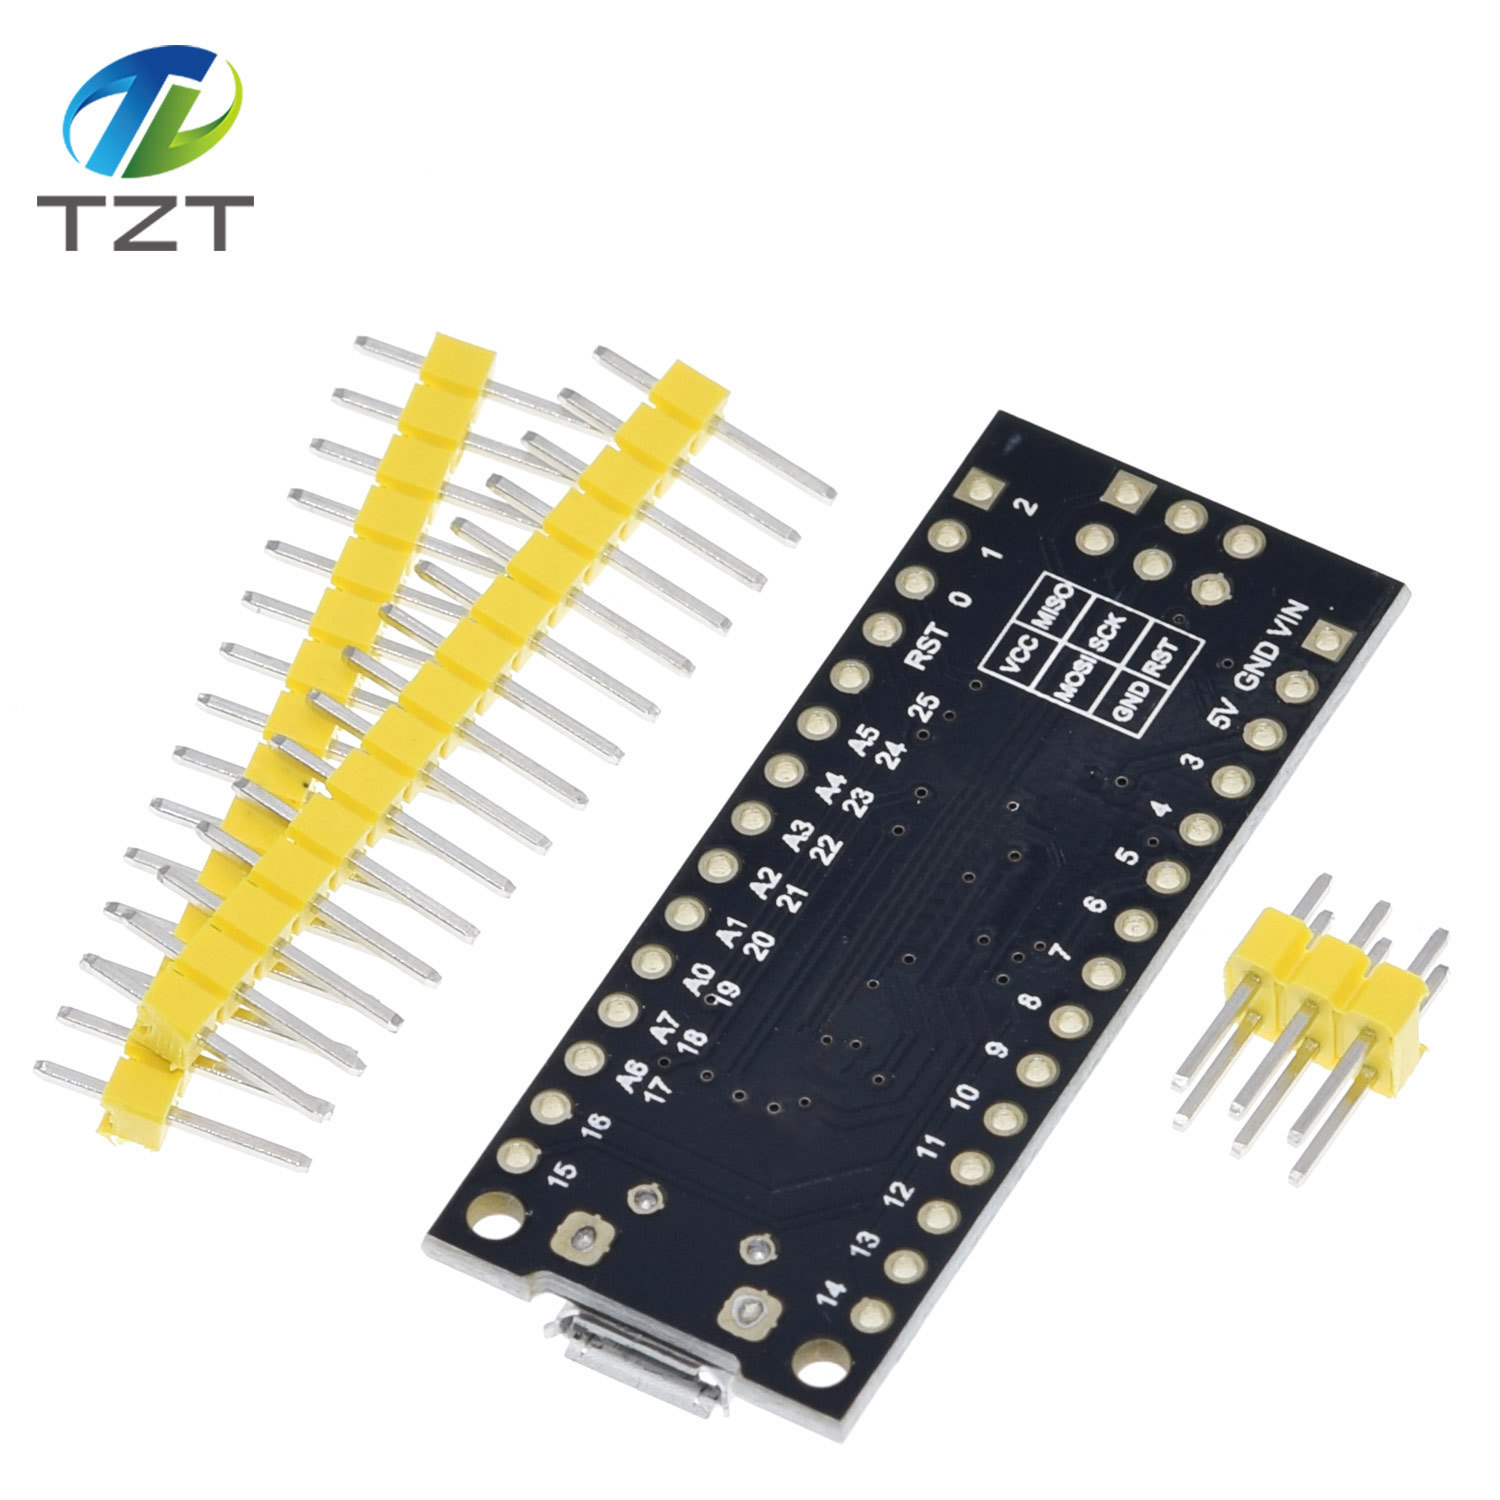
The MH-ET LIVE Tiny88(16.0Mhz) based microcontroller
development board similar to the Arduino line, only cheaper, smaller, and a bit
less powerful. With the ability to use the
familiar Arduino IDE the MH-ET LIVE Tiny88(16.0Mhz) is a great board to jump
into electronics, or perfect for when an other board is too big or too much.The
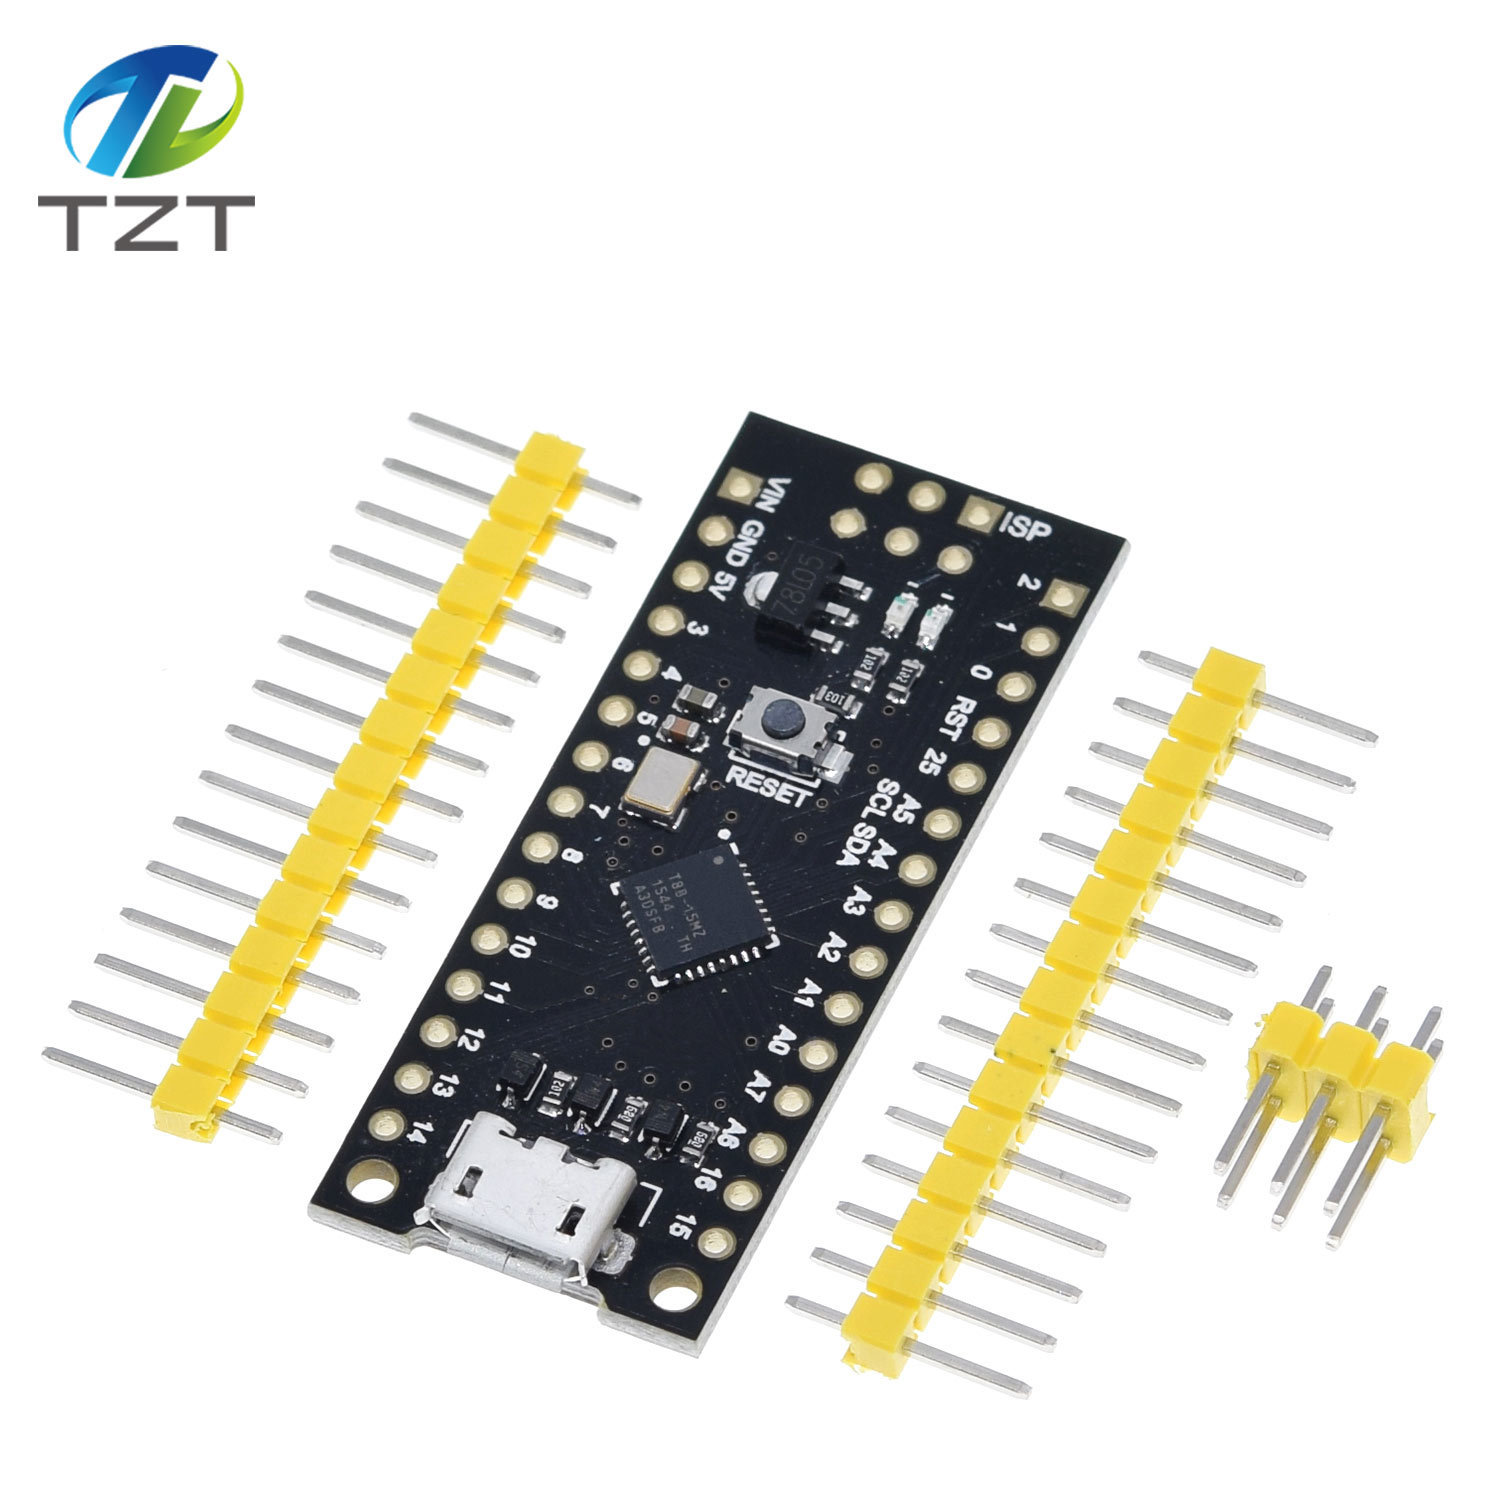
MH-ET LIVE Tiny88(16.0Mhz) is shipped fully assembled except for the
headersincluded and easy to solder them by yourself.
Specs:
Support for the Arduino IDE 1.0+
(OSX/Win/Linux)
1. Power via USB or External Source - 5v or 7-35v (12v or
less recommended,
automatic selection)
2. On-board 500ma 5V Regulator
3. Built-in USB
4. 26 I/O Pins (2 are used for USB only if your program
actively communicates over USB, otherwise
you can use all 6 even if you are programming via USB)
5. 8k Flash Memory (about 6k after
bootloader)
6. I2C and SPI
7. 26-PWM (26 pins with Software PWM,only two(D9,D10)
with hardware PWM )
8. ADC on 8 pins
9. Power LED and Test/Status LED
10. Size(mm):44.5x18.3x3
PinOut:
Installation
Instructions:
First download the appropriate Arduino package at the
Arduino.cc website:
http://www.arduino.cc/en/Main/Software
If using Arduino 1.6.6 or higher and windows - you
will need to download and install the
drivers manually. Download, unzip and run “Install Drivers” (on 32bit systems) or “DPInst64” (on 64bit systems). The driver
files are located here:
http://github.com/MHEtLive/MHEtLiveArduino/releases/download/1.0.0/
2.0a4.rar
Install or Unzip the Arduino
application.
Run the Arduino application.
In the Arduino application go to the “File” menu and
select “Preferences”,In the box labeled
“Additional Boards Manager URLs” enter:
http://raw.githubusercontent.com/MHEtLive/arduino-boards-index/master/p
ackage_mhetlive_index.json and click OK;
Go to the “ Tools ” menu and then the “ Board ” submenu - select “Boards Manager” and
then from the type drop down select “ Contributed ”:
Select the “ MH-ET LIVE
Boards ” package and click the “ Install ” button.
You\'ll see the download progress on the bottom bar of
the “ Boards
Manager ” window, when
complete it will show “ Installed ” next
to that item on the list.
WINDOWS USERS: When complete the install with pop up a
Driver Install Wizard window,
please click “ Next ” on this
Window to install the drivers for MH-ET LIVE
Boards (If you already have them installed, this
installer will update them and install any
that are missing).
With the install complete, close the “ Boards
Manager ” window and select the MH-ET LIVE
Boards “ MH-ET
LIVE Tiny88(16.0Mhz) ” from the
Tools→Boards menu.
Choose the example that comes with the Arduino IDE:
Select the development board as
MH-ET LIVE Tiny88 in the toolbar, open the program in File >>Example
>> Basic>>Blink, change the port 13 in the program to 0. Port,
compile and download into the MH-ET LIVE Tiny88(16.0Mhz) according to
the abovemethod, it can be seen that the onboard LED light flashes according to
the
frequency specified by the
program.( note: When downloading the program,
do not connect
the module first, wait for the prompt to insert the module after compiling, then plug
it in and wait for the automatic download to complete ).


'


 TUOZHANTENG electronic components Co., LTD
 0755-82527072
 emily@tztstore.com
 3013 Hongli Road, Shanghang Building 5F/511, Huaqiangbei , Futian , Shenzhen , Guangdong , China.