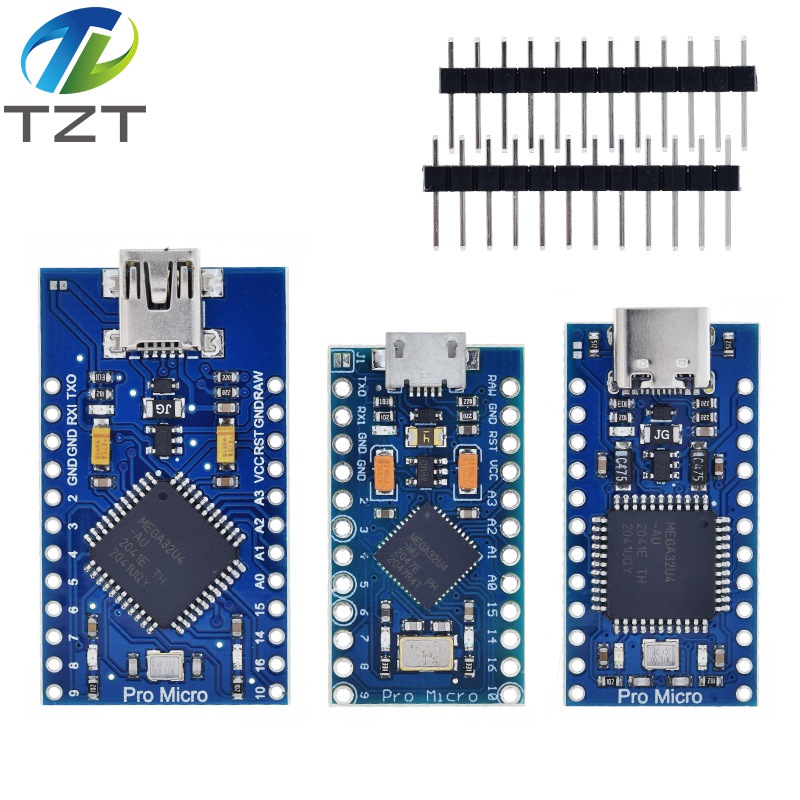
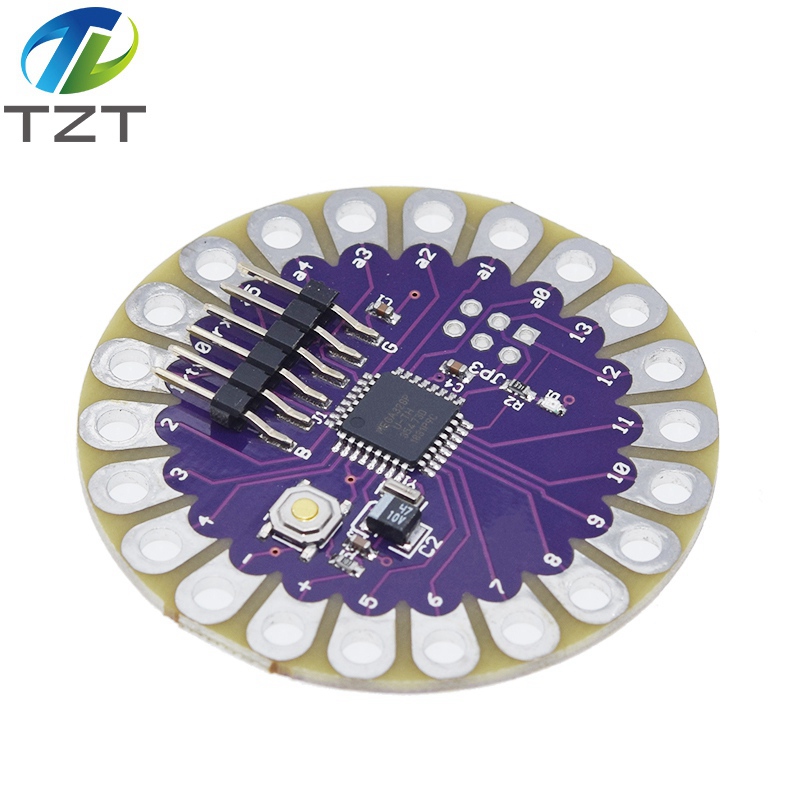

This is LilyPad - the main board consisting of an ATmega328 with the to 5V.
The latest version of the LilyPad supports automatic reset for even easier programming.
The back side of the LilyPad is now completely flat! We
now use a surface mount programming connector to keep the header from poking
through.
This version of the LilyPad now uses the new ATmega328 at 8MHz. 0016
supports the Pro Mini 328/8MHz/16MHZ. Use this setting when using this new
LilyPad 328.
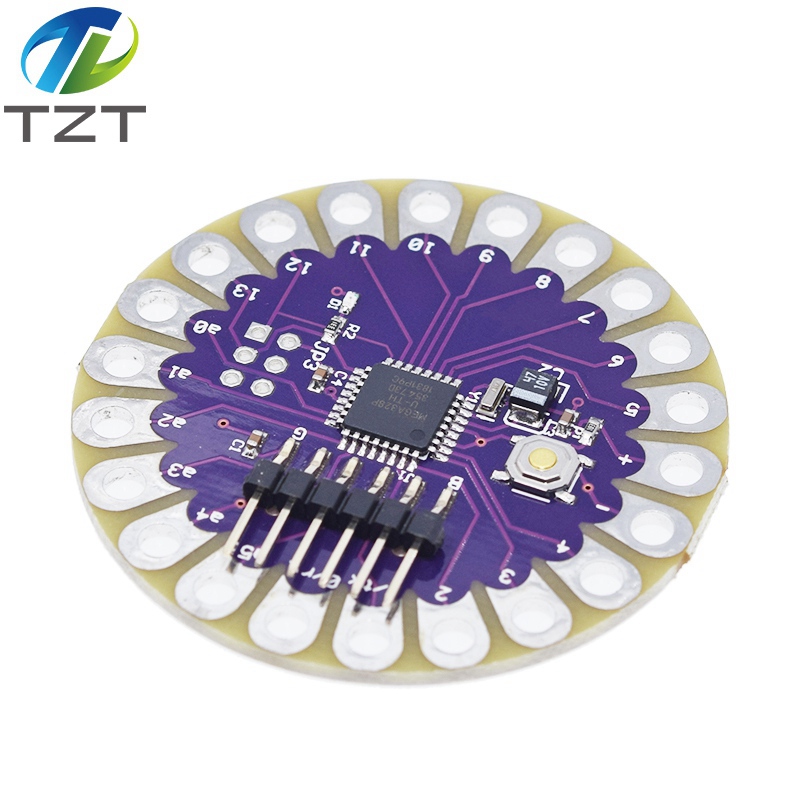
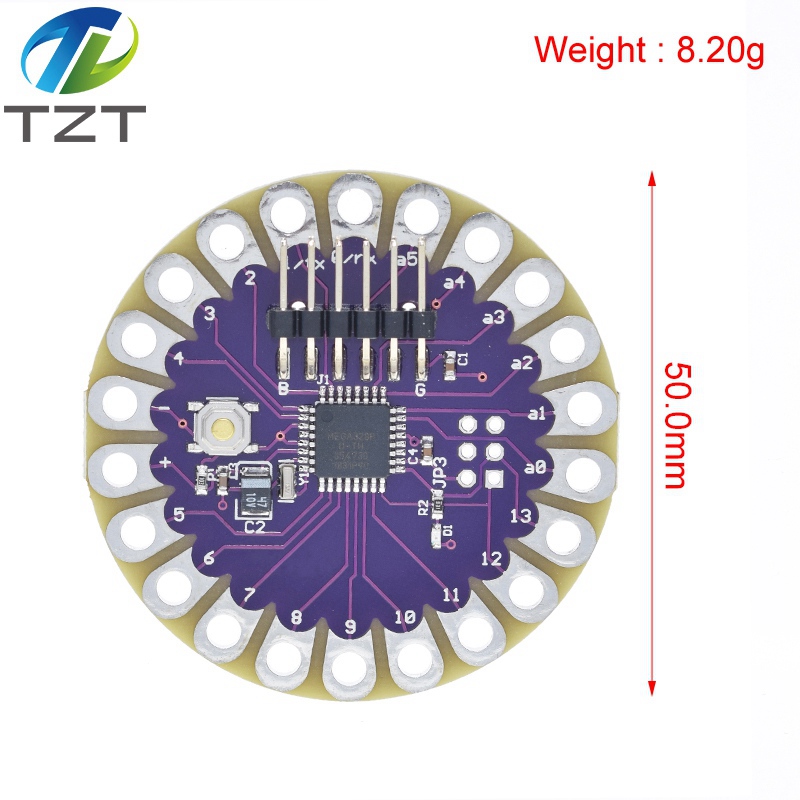
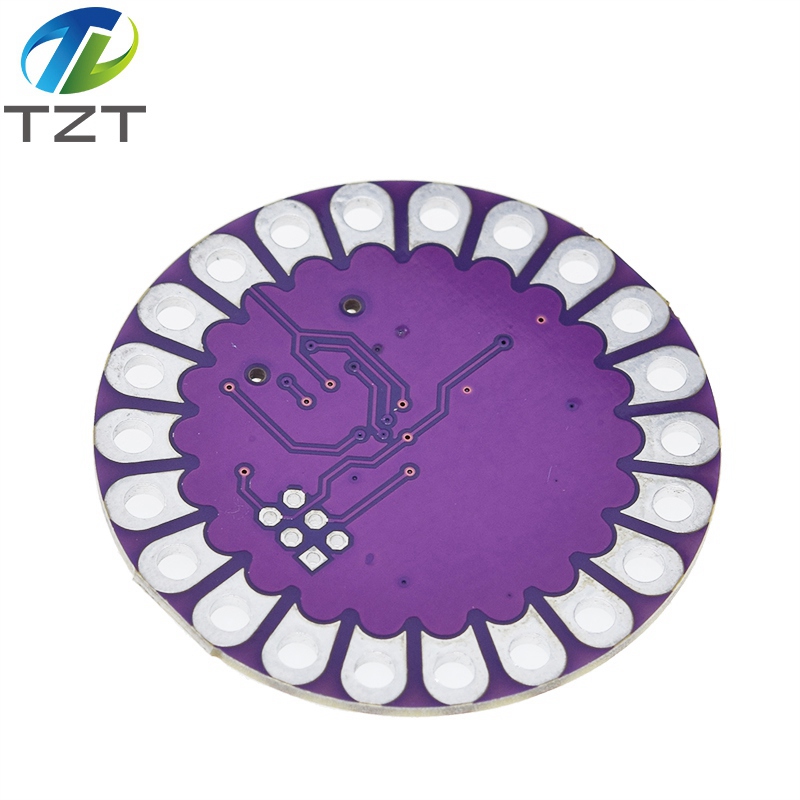
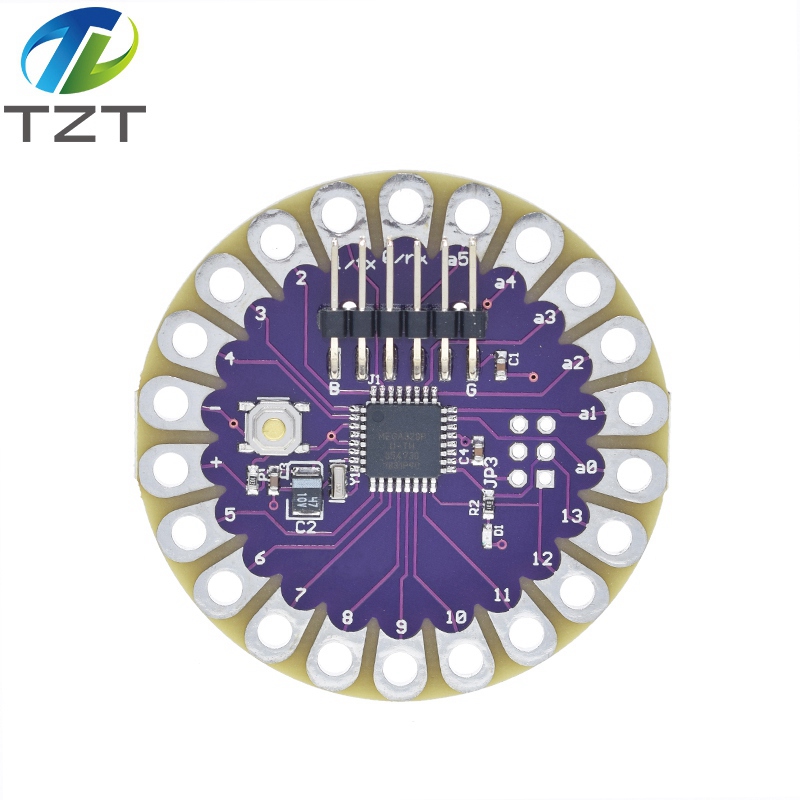
LilyPad is a wearable e-textile technology developed by Leah
Buechley and cooperatively designed by Leah and SparkFun. Each LilyPad was
creatively designed to have large connecting pads to allow them to be sewn into
clothing. Various input, output, power, and sensor boards are available.
They\'re even washable!
Buying Guide!
Note:A portion of this sale is given
back to Dr. Leah Buechley for continued development and education of e-textiles
and also to LLC to help fund continued development of new tools and new IDE
features.
Now I assue that you have already downloaded the Arduino Lilypad Library for Proteus and are ready to use it within Proteus.
So open Proteus ISIS and get these components from the Proteus
components library as shown in below figure
After getting these components, draw a circuit in Proteus as shown in
the below figure:
You can clearly see in the above figure, the Arduino Lilypad Simulation in Proteus. After that you need to write a code for Arduino Lilypad so that you could get the hex file for it.
In this project, I have used three LED lights and make them ON and OFF using the switch button. If the button is not pressed then the LEDs will remain ON and when you hit the button , the LEDs will go OFF.
Copy the below code and paste it into the Arduino software and compile:
After compiling this code, get the hex file of code. The hex file and this simulation file is also given at the end of this post so you can download it from there.
Now upload this hex file into this Arduino Lilypad and hit the RUN buttom
If everything’s goes fine then as youhit the run button, the LEDs
will get ON as shown in the below figure:
Now, when you press the button, these LEDs will go OFF as shown in
the below figure:
That’s all, you have successfully implemented the Arduino Lilypad
simulation in Proteus


China (Mainland)
 TUOZHANTENG electronic components Co., LTD
 0755-82527072
 emily@tztstore.com
 3013 Hongli Road, Shanghang Building 5F/511, Huaqiangbei , Futian , Shenzhen , Guangdong , China.
Hong Kong,China
TUOZHANTENG HK CO., LTD
1244995775@qq.com
Room 1103, Hang Seng Mongkok Building, 677 Nathan Road, Mongkok, Kowloon, Hong Kong
WhatsApp +86 15920041318
![]() WeChat +86 15920041318
WeChat +86 15920041318
Telegram/ KakaoTalk :+86 15920041318
Website customer service

Tel